Maximizing Your Studio Space: A Comprehensive Guide to Audio Mastering
In today’s competitive music industry, creating crystal-clear, professional-sounding audio tracks is vital for any aspiring artist or producer. Audio mastering is the final step in the music production process, ensuring your track is ready for distribution and engaging with listeners. By maximizing your studio space, you can elevate your audio mastering skills and achieve exceptional results. Here are some essential tips for optimizing your workspace to unlock your full mastering potential.
Choose the Right Equipment
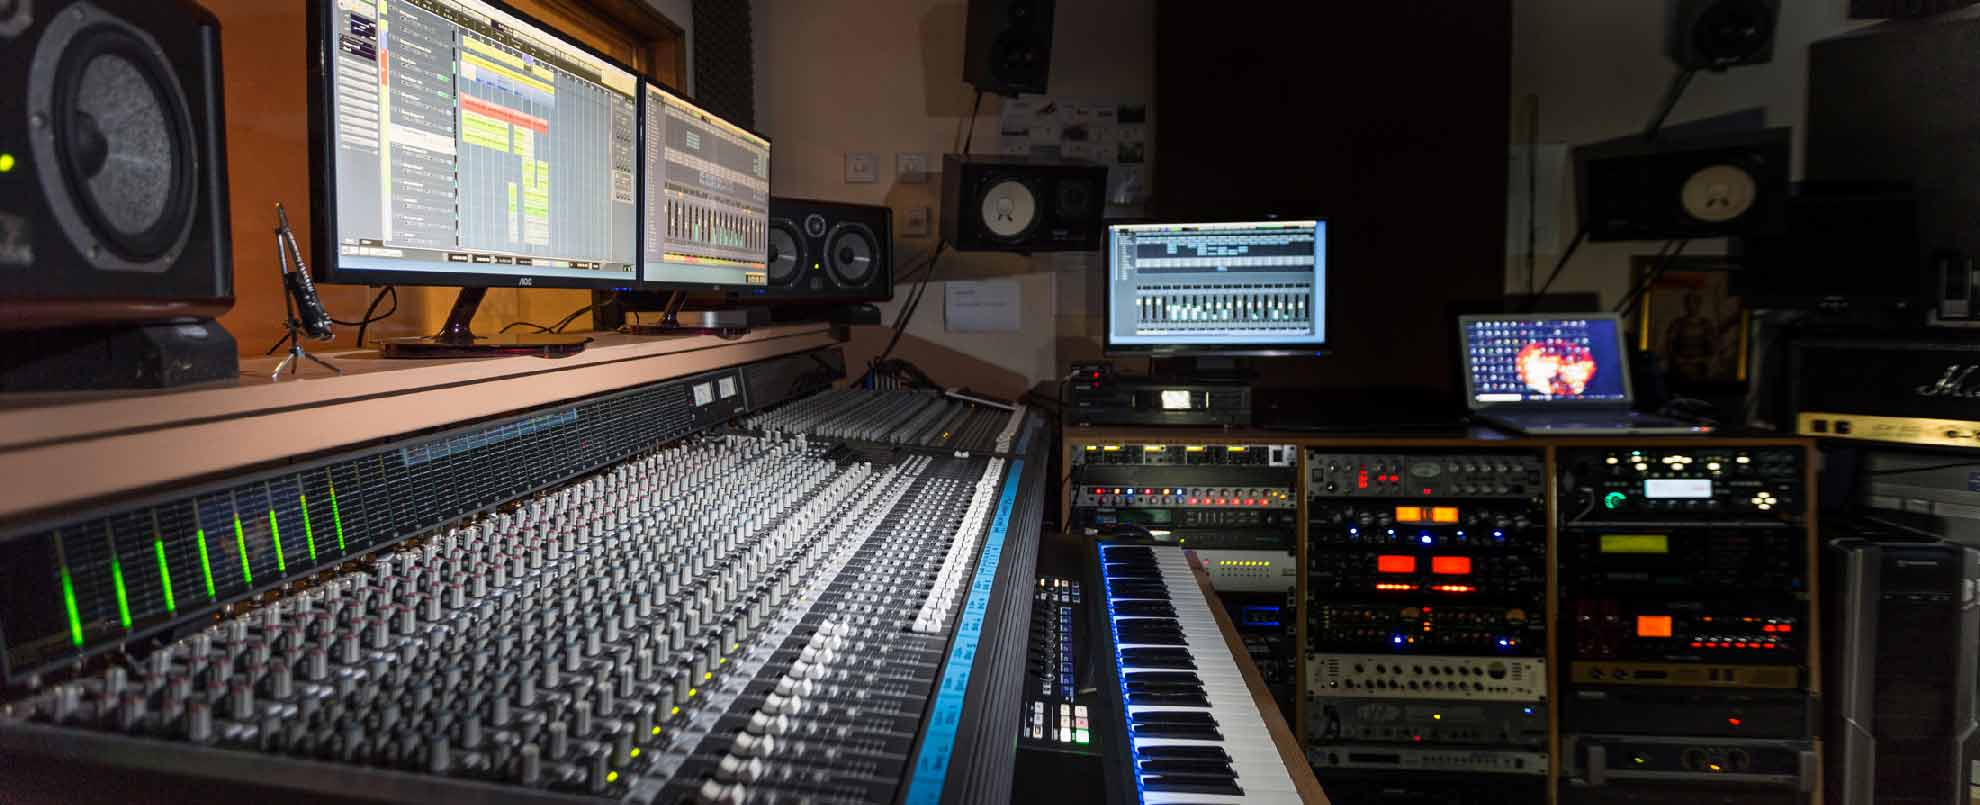
One of the most vital aspects of audio mastering is having the correct equipment. While gear can be expensive, investing in the essentials will lead to professional results. Key components for your home studio include:
1. High-Quality Headphones and Studio Monitors: Invest in reliable, top-quality headphones and studio monitors to accurately assess your tracks. A balanced sound signature is crucial when making mastering decisions.
2. A Reliable DAW: Select a dependable digital audio workstation (DAW) that combines versatility and accessibility, such as Pro Tools, Logic Pro, or Ableton Live. These DAWs offer numerous mastering tools and plugins to enhance your workflow.
3. The Right Plugins: Essential mastering plugins include compressors, equalizers, limiters, and stereo imaging tools. Choose high-quality plugins that provide precise control and flexibility when making adjustments.
Acoustic Treatment and Room Setup
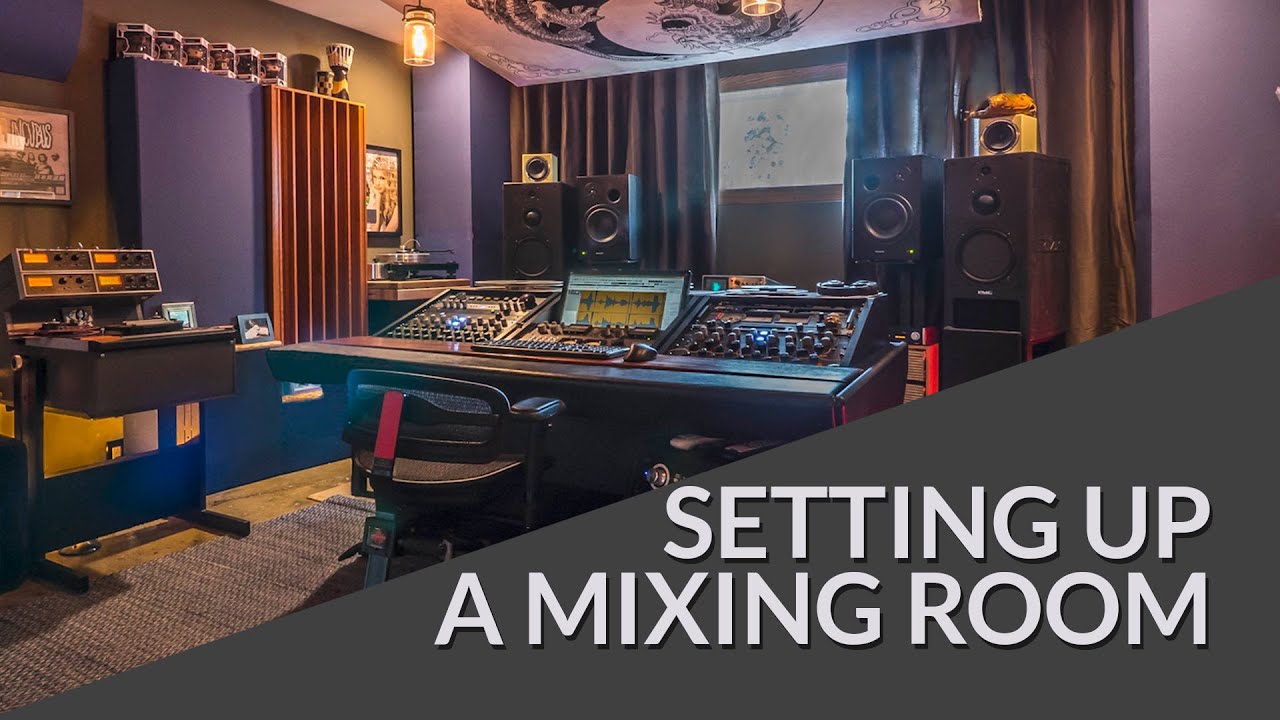
The acoustics of your studio space considerably impact the accuracy and transparency of your audio mastering. Consider the following when setting up your room:
1. Room Dimensions: Choose a room with balanced dimensions to avoid amplifying certain frequencies or creating resonant peaks.
2. Strategic Placement: Place your mastering desk against a short wall and away from corners to reduce bass buildup. Position your studio monitors symmetrically, creating an equilateral triangle with your listening spot.
3. Acoustic Treatment: Install bass traps, diffusers, and absorptive panels to control room modes, reflections, and resonances. Treat the space with a combination of these materials for accurate frequency response and better sound translation.
4. Monitor Calibration: Calibrate your studio monitors to ensure consistent and accurate audio playback. Use an SPL meter to measure sound pressure levels and adjust your speakers accordingly.
Effective Mastering Techniques
With the right equipment and room acoustics, you can focus on mastering techniques that elevate your sound. Key mastering concepts include:
1. EQ Balance: Use equalization to balance the frequency spectrum, enhancing the clarity and overall cohesion of your mix. Ensure smooth transitions across the frequency range and no competing elements.
2. Dynamic Control: Utilize compression and limiting to control dynamics, maintain consistent loudness, and avoid distortion. Seek a balance between dynamics and loudness, while preserving the mix’s natural feel and impact.
3. Stereo Imaging: Improve the sense of space and width in your mix with stereo imaging tools. Pan instruments deliberately and avoid extreme stereo separation, preserving phase coherence for optimal listening on various systems.
4. Proper Metering: Monitor your levels and audio spectrum with meters, including peak meters, loudness meters, and spectral analyzers. Keep a close eye on these tools to make informed mastering decisions and achieve desired levels of loudness and dynamic range.
By optimizing your studio space and implementing effective mastering techniques, you’ll be well on your way to creating professional, polished audio tracks. Building an efficient workflow, investing in the right equipment, and refining your mastering skills will give you the edge you need to succeed in the competitive world of music production.